
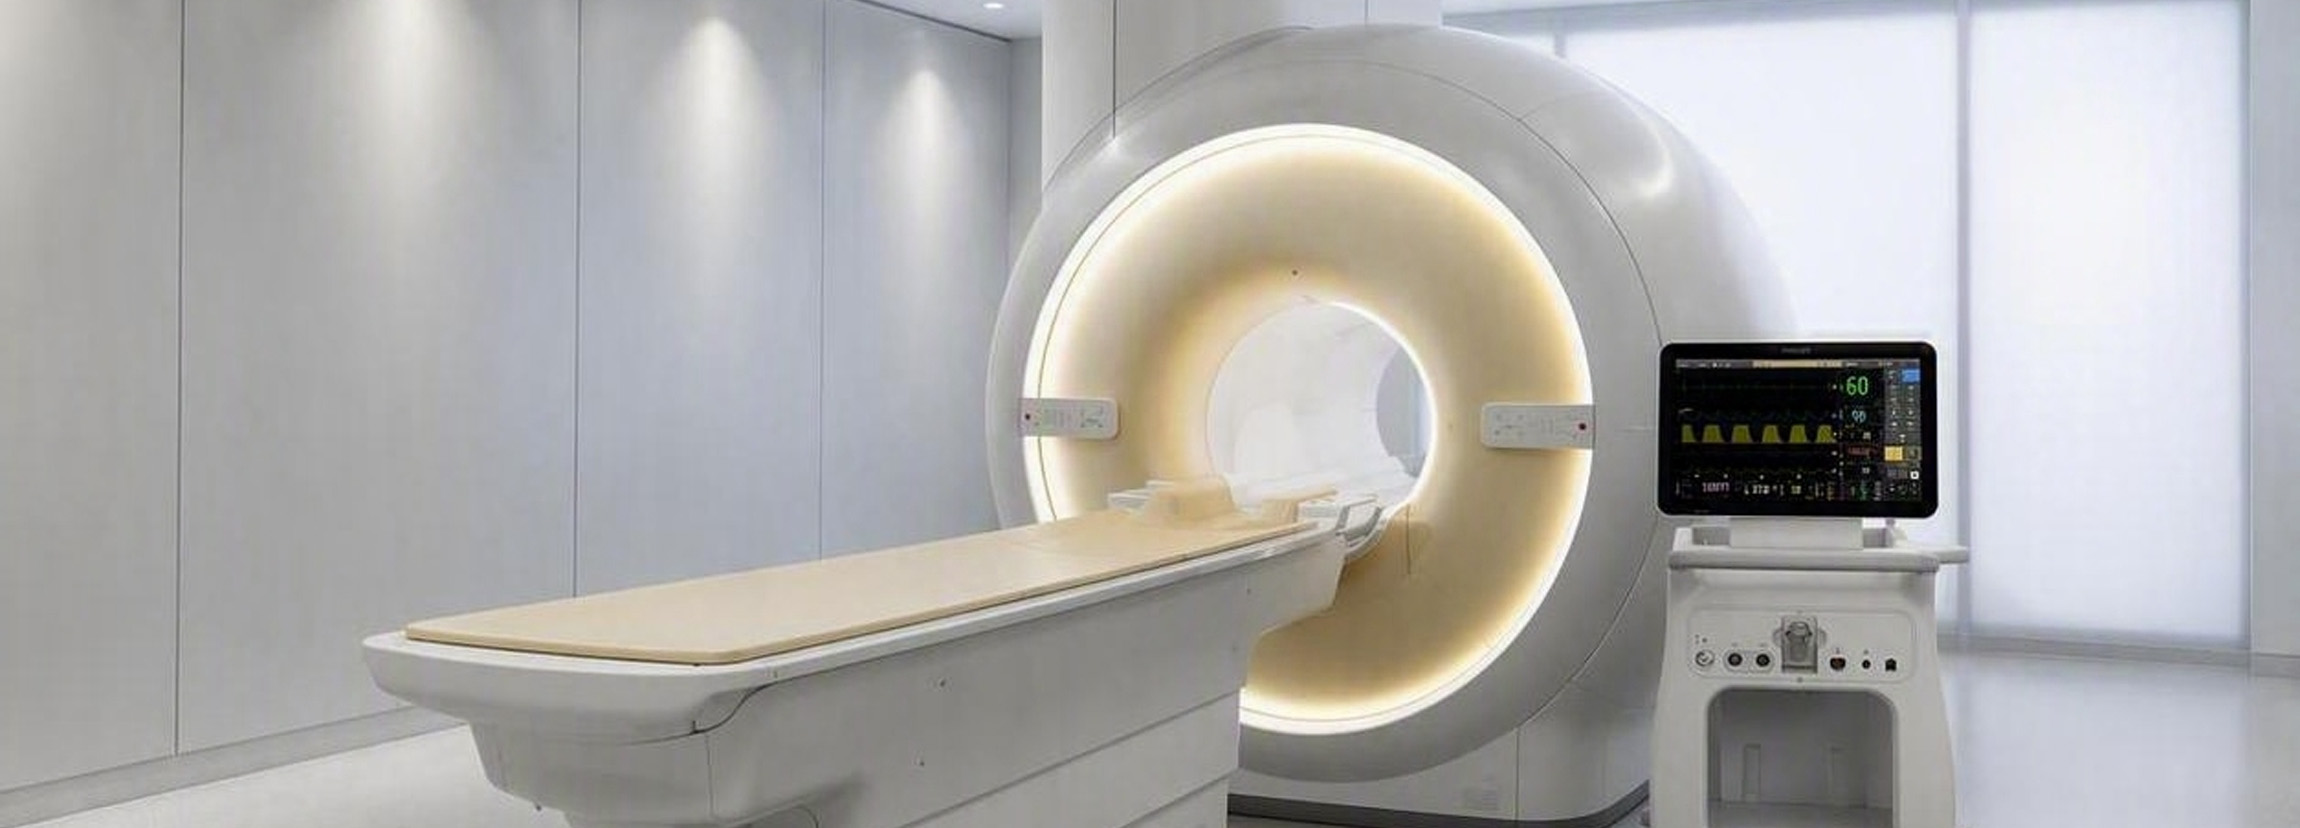
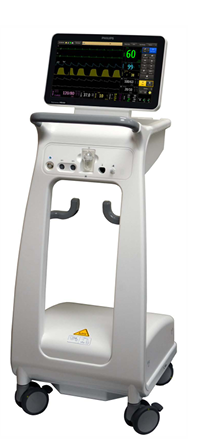
The Philips Expression MR400 is widely regarded as one of the leading MRI-compatible patient monitoring systems available today, providing reliable physiological monitoring within one of the most challenging clinical environments in healthcare.
However, like any critical piece of medical equipment, long-term performance depends not only on how the monitor is used, but also on how it is maintained between patients. Small oversights such as failing to charge batteries, improper storage of accessories, or neglecting routine cleaning can contribute to reduced reliability, unexpected downtime, and unnecessary equipment damage.
By following a few simple best practices, healthcare facilities can maximise equipment availability, improve patient safety, and help extend the operational life of their MR400 monitoring systems. Routine inspections play an important role in maintaining the reliability and readiness of the MR400. Regular visual inspections help identify damage, missing consumables, depleted batteries, and worn accessories before they affect patient care.
This article explores practical recommendations for inspecting, storing, cleaning, and maintaining the MR400, its modules, accessories, and consumables.
Before Use
Before each day of clinical use, a visual inspection should be performed to confirm that the MR400 and all required accessories are present, functional, and ready for patient monitoring.
MR400 Cart Inspection
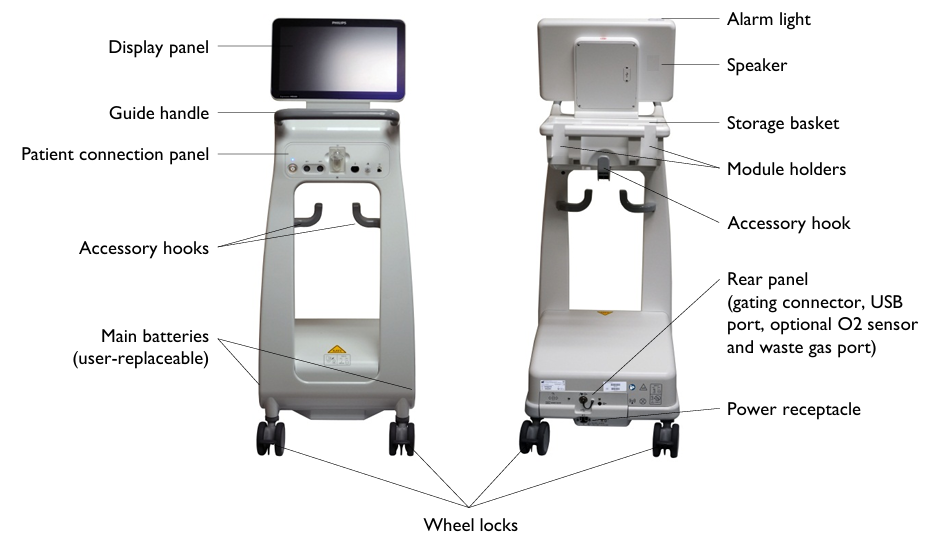
Inspection should begin with the MR400 cart itself.
Check the monitor for:
- Cracks or physical damage
- Damaged connector ports
- Loose fittings or accessories
- Damage to power cables
- Correct charging operation
- Adequate battery charge
Any signs of damage should be investigated before the system is returned to clinical use.
Water Trap Inspection
For systems equipped with ETCO₂ or Agent Monitoring, the water trap should be inspected daily.
Remove the water trap from its housing and inspect for:
- Cracks in the housing
- Damage to the luer-lock connector
- Filter discolouration
- Excessive moisture accumulation
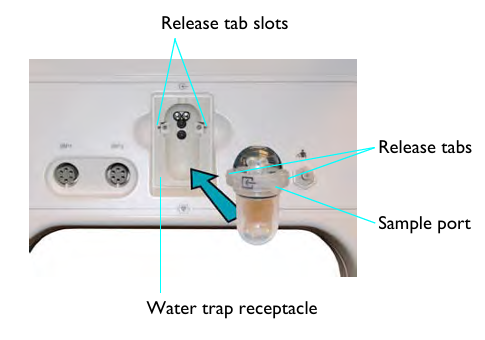
A black line around the water trap indicates the maximum allowable fluid level. If the collected moisture reaches or exceeds this level, the water trap should be replaced.
The filter should also be inspected for discolouration. A yellowed or stained filter may indicate that replacement is required.
Sample lines should be replaced between patients in accordance with local infection-control procedures.
Routine inspection of the water trap helps maintain gas monitoring accuracy and protects the internal gas analysis system from contamination.
Replacement water traps are available from IMGDirect. You can order them here.
Module Inspection and Storage
The ECG and SpO₂ modules should be stored in the designated storage pockets located on the rear of the MR400 cart. These storage pockets have been designed to protect the modules and promote proper cable management. The modules should always be stored with their cables hanging naturally from the storage pocket.
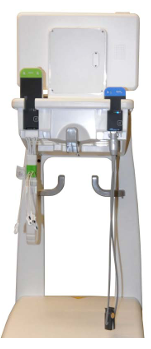
The ECG lead assembly should be retained using the integrated cable holder to prevent the lead set from contacting the floor. Particular care should be taken with the SpO₂ fibre-optic cable. The cable should never be wrapped tightly around the cart, basket, or handles. Fibre-optic cables are sensitive to excessive bending, twisting, and crushing, and even minor damage can affect monitoring performance.
Inspect each module and associated cables for:
- Cracks or physical damage
- Damaged connectors
- Worn insulation
- Broken cable strain reliefs
- Damaged battery compartments
Battery Readiness
Reliable monitoring begins with charged batteries.
Before use, battery status should be checked for:
- ECG Module batteries
- SpO₂ Module batteries
- MR400 cart batteries
Module battery charge can be verified by inserting the battery into the module and observing the battery indicator following startup onthe module, or the battery information can be view on the MR400 Monitor screen in the Status Section.
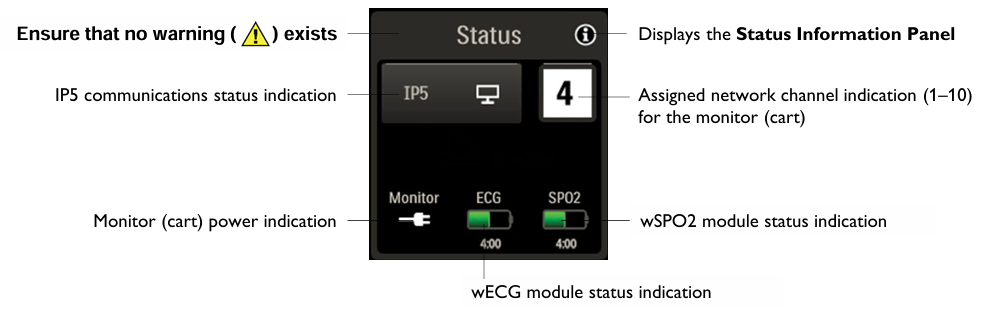
If battery charge is low:
- Remove the battery from service
- Place it on charge
- Replace it with a fully charged battery
Verifying battery status before use helps reduce the likelihood of monitoring interruptions during patient examinations.
Consumable Readiness
The rear storage basket should be checked to ensure commonly required consumables are available.
Examples may include:
- ECG Quadrodes
- Reusable NIBP cuffs
- Reusable SpO₂ clips
- Disposable SpO₂ sensors
- Sample lines
- ECG preparation gel
Maintaining appropriate consumable stock helps reduce delays and improves workflow efficiency.

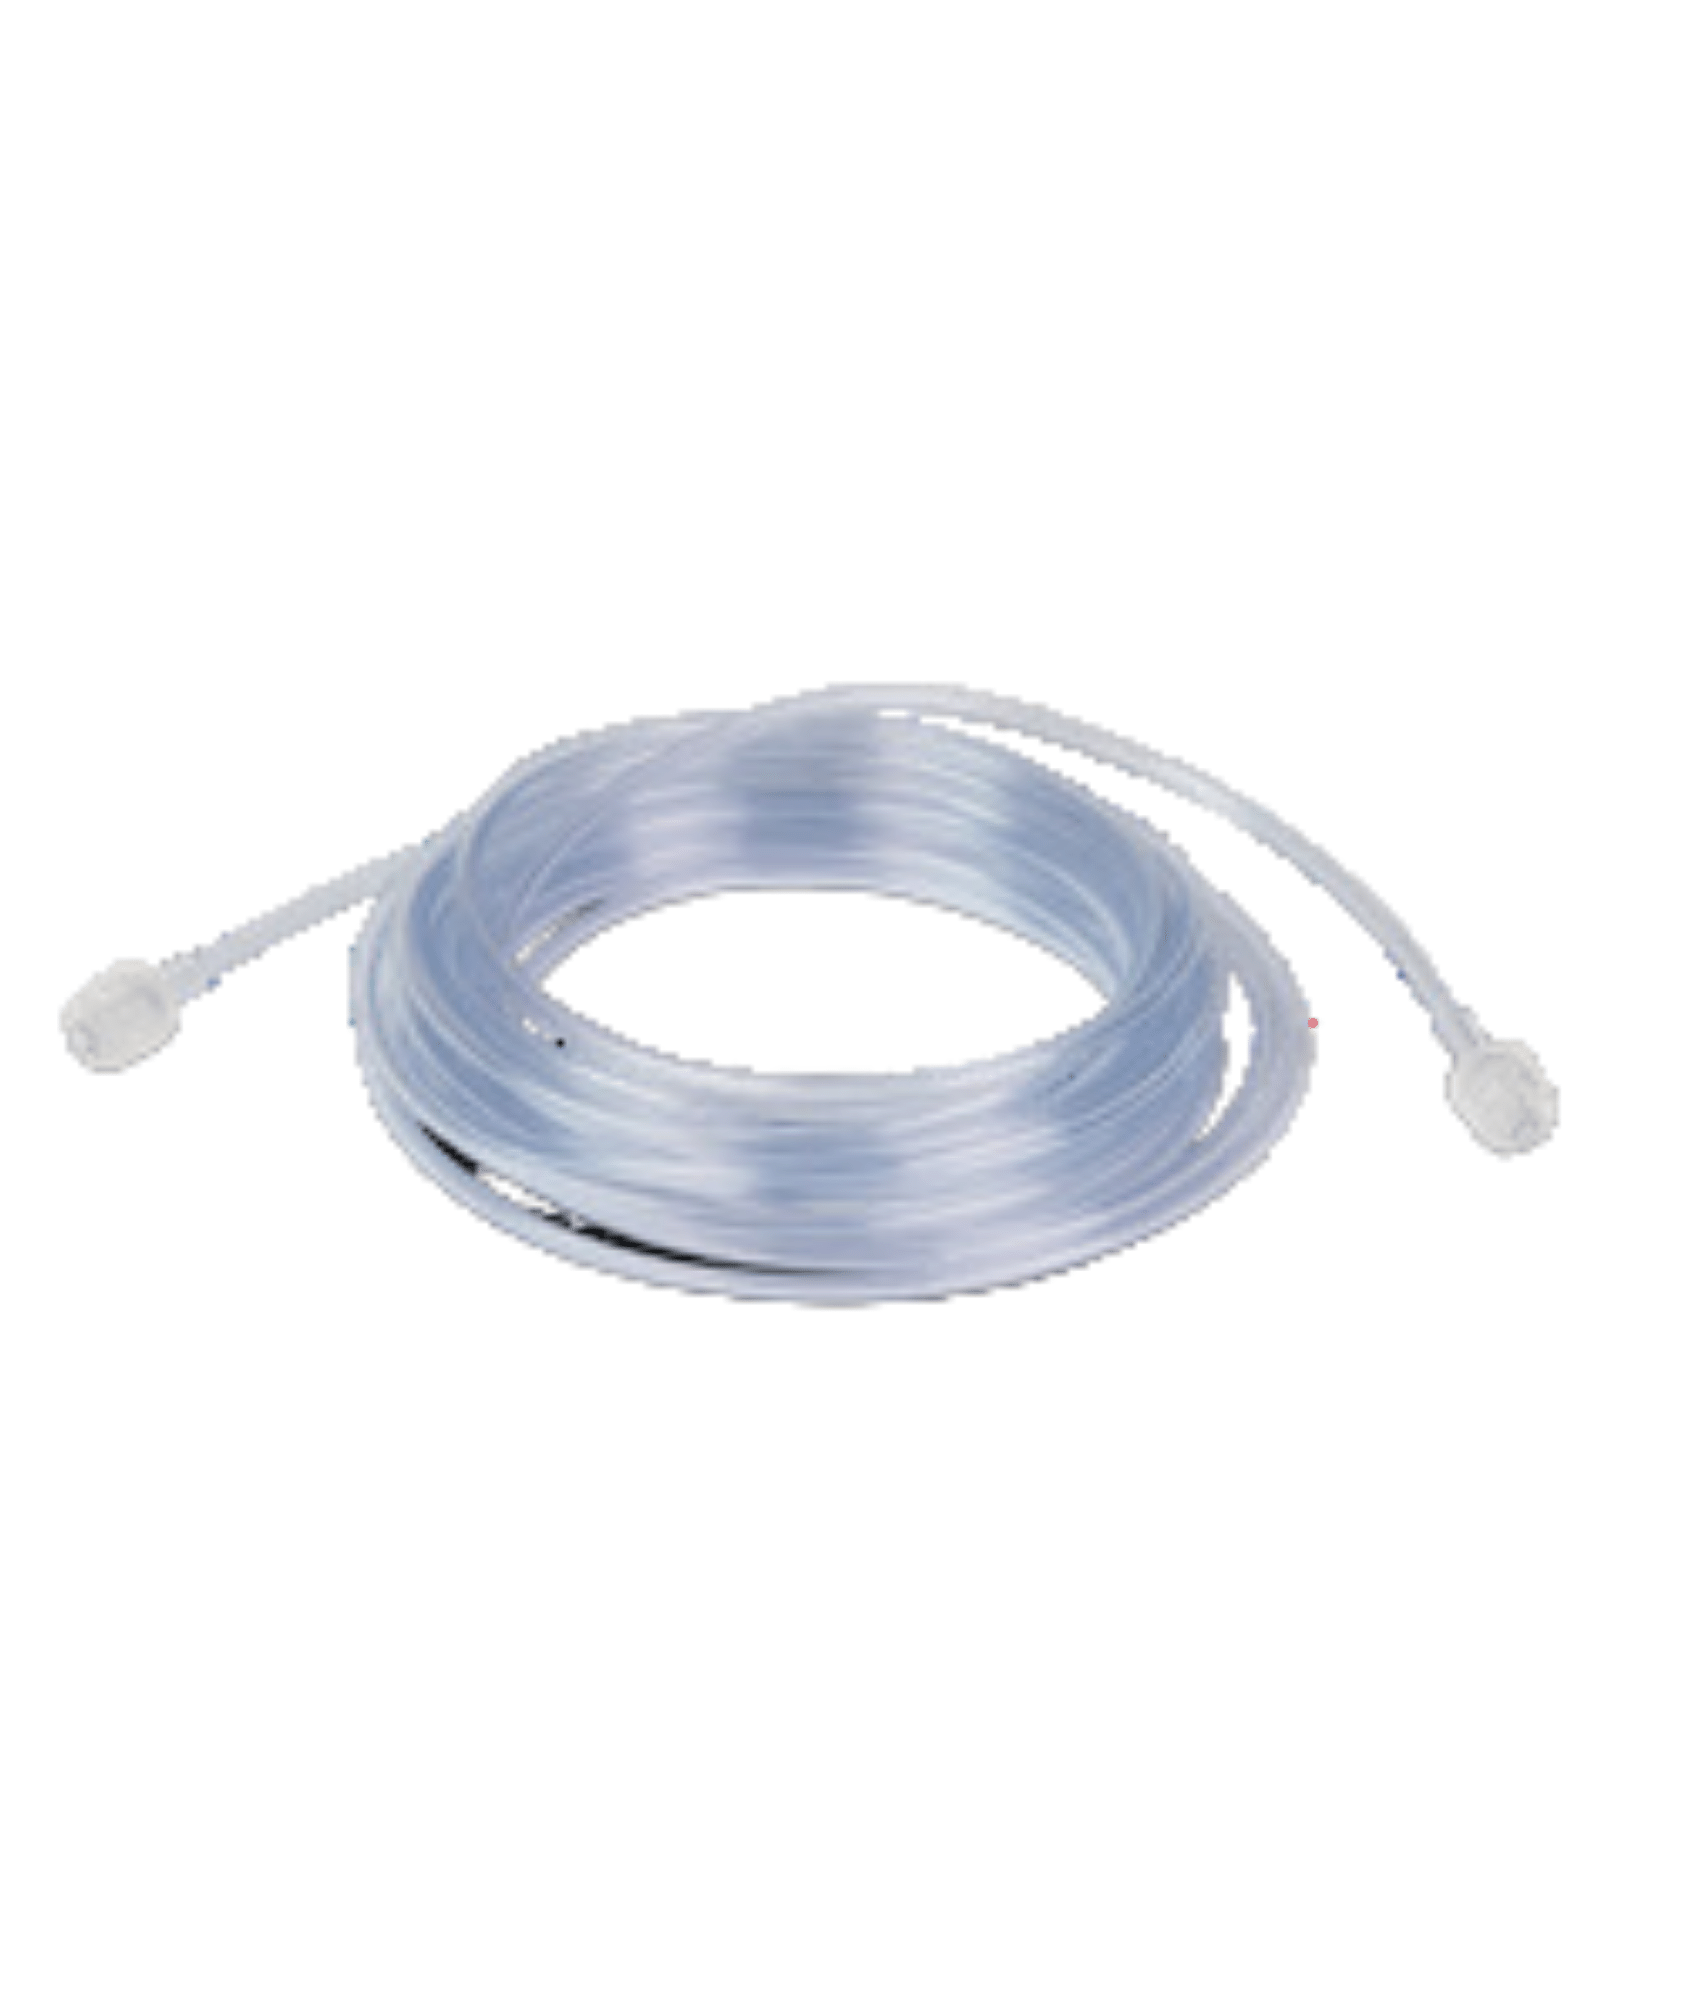
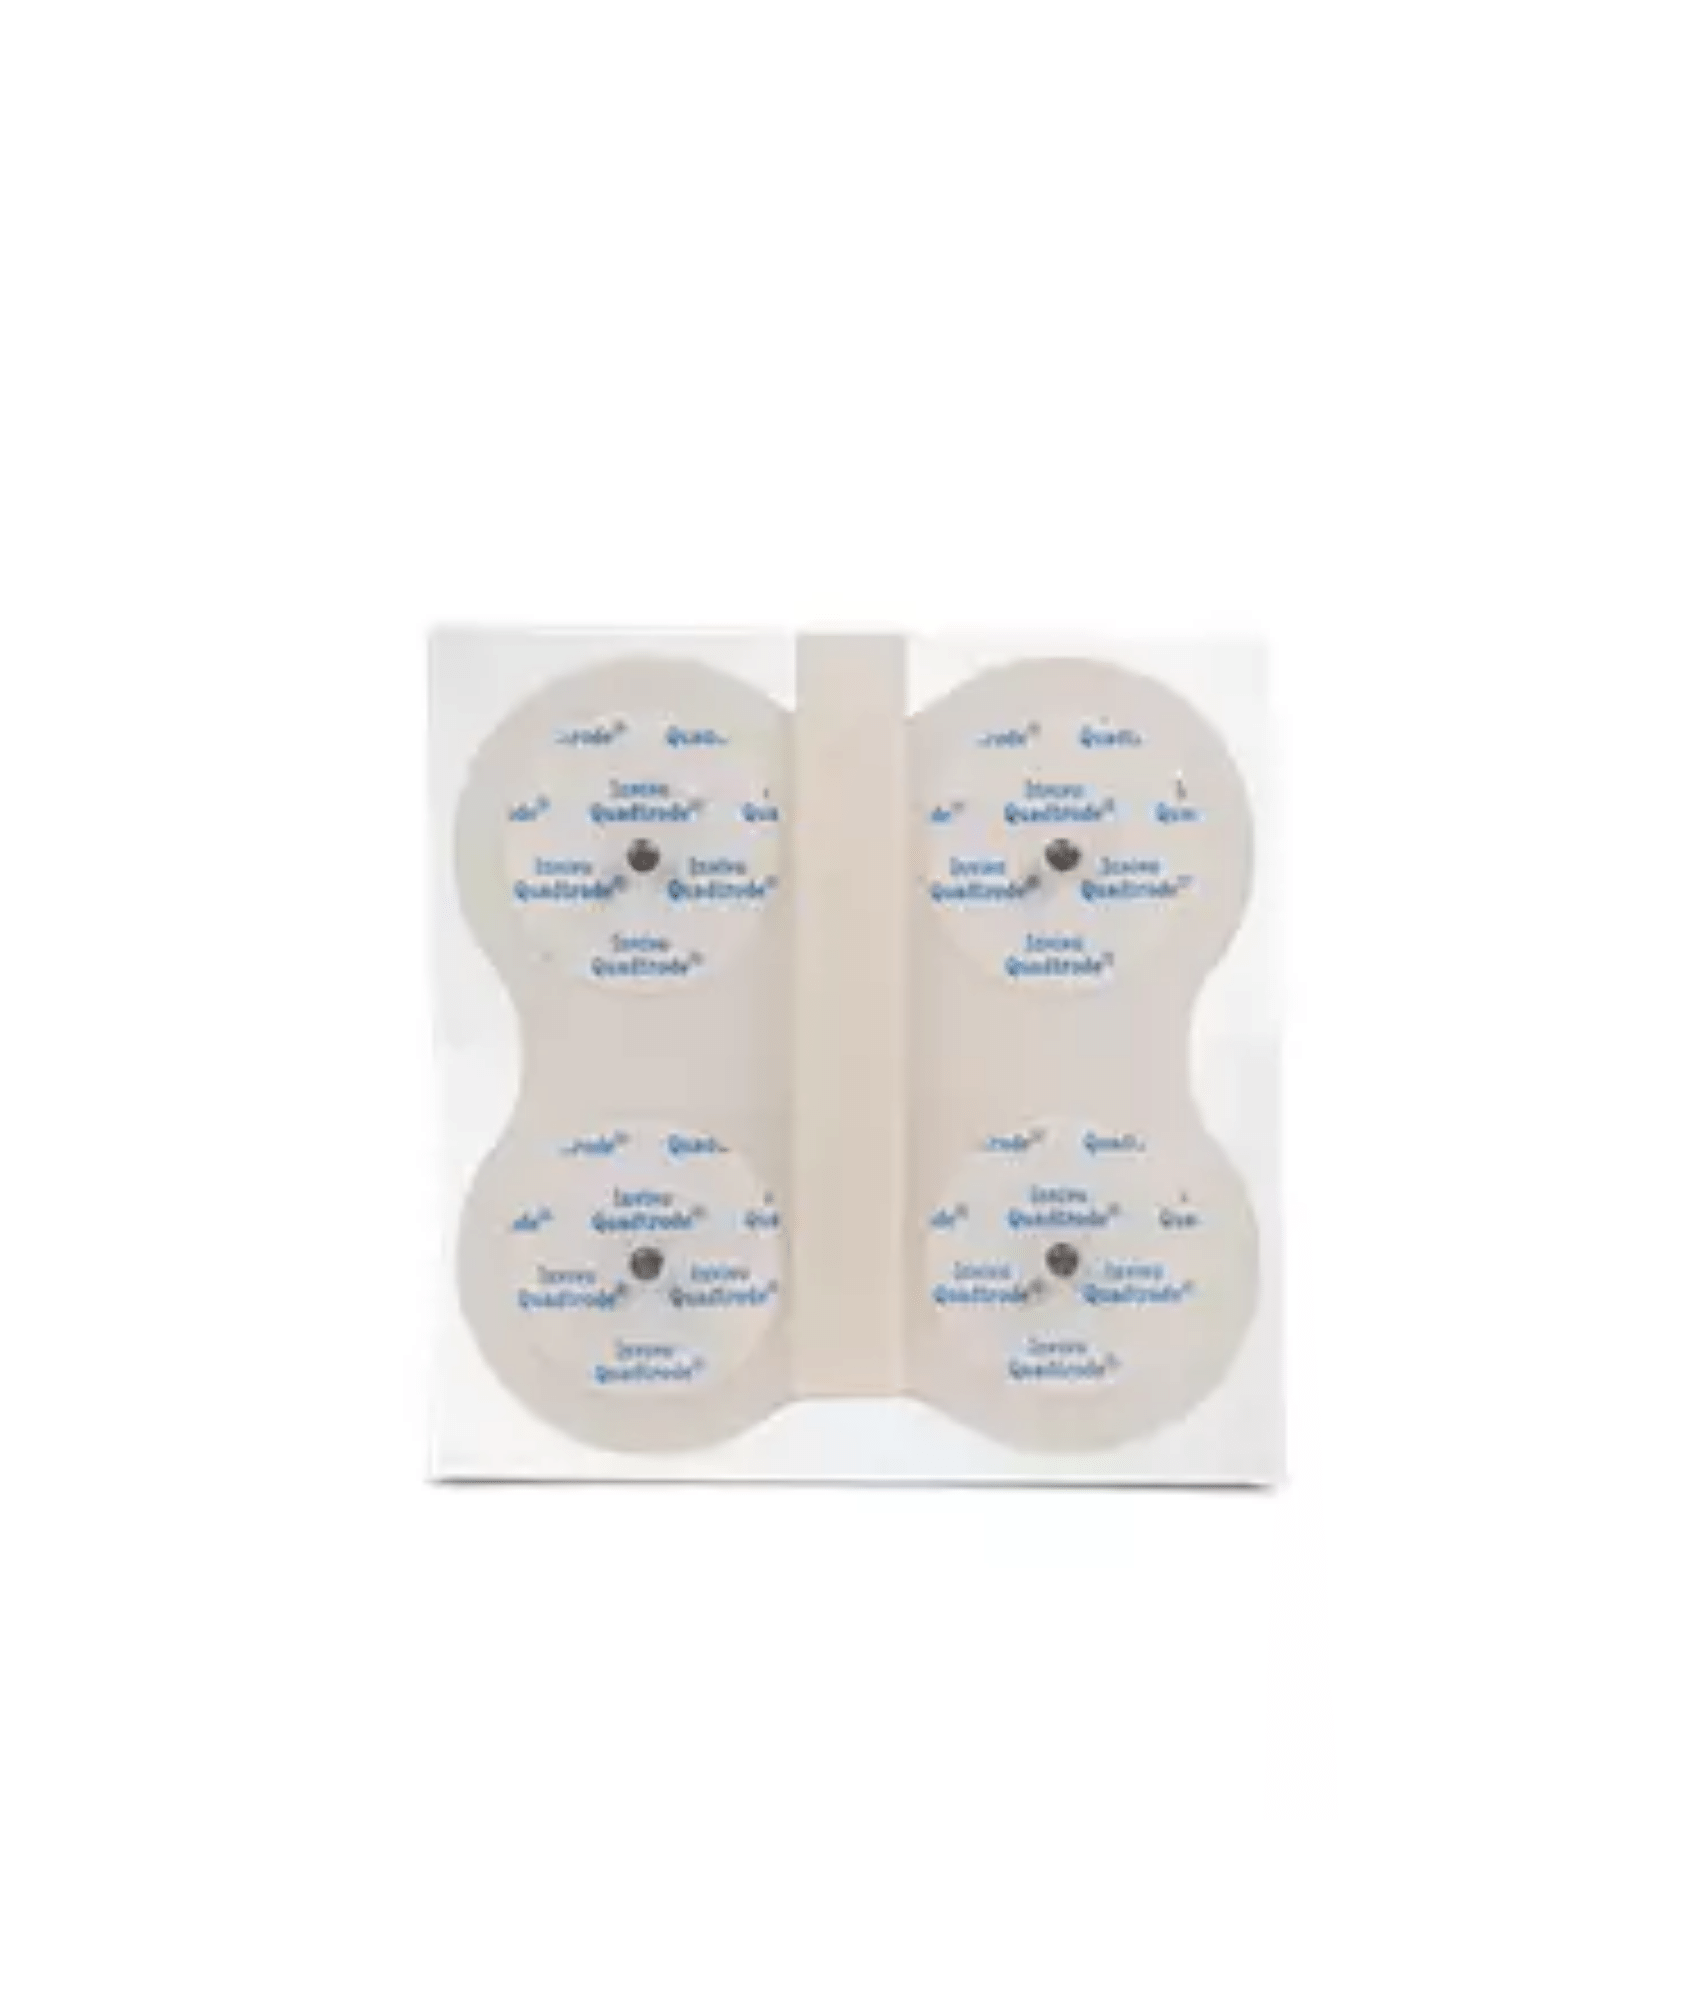
Need replacement consumables or accessories? Browse the complete range on the IMGDirect website.
After Use
Preparing the MR400 for the next patient begins immediately after the current examination has been completed.
Returning Modules to Storage
After disconnecting the patient, return the ECG and SpO₂ modules to their designated storage pockets.
Store all cables with sufficient slack and avoid wrapping cables tightly around the cart or accessories.
The ECG lead assembly should be secured using the integrated cable retainer to prevent the leads from contacting the floor.
The SpO₂ fibre-optic cable should be allowed to hang naturally. Never wrap the fibre-optic cable tightly around the monitor, basket, or storage handles, as even minor cable damage can affect monitoring performance.
Replacing Consumables
Replace or restock any single-patient-use consumables used during the examination, including:
- ETCO₂ sample lines
- Disposable SpO₂ sensors
- Disposable NIBP cuffs
- ECG Quadrodes
- Temperature probe covers
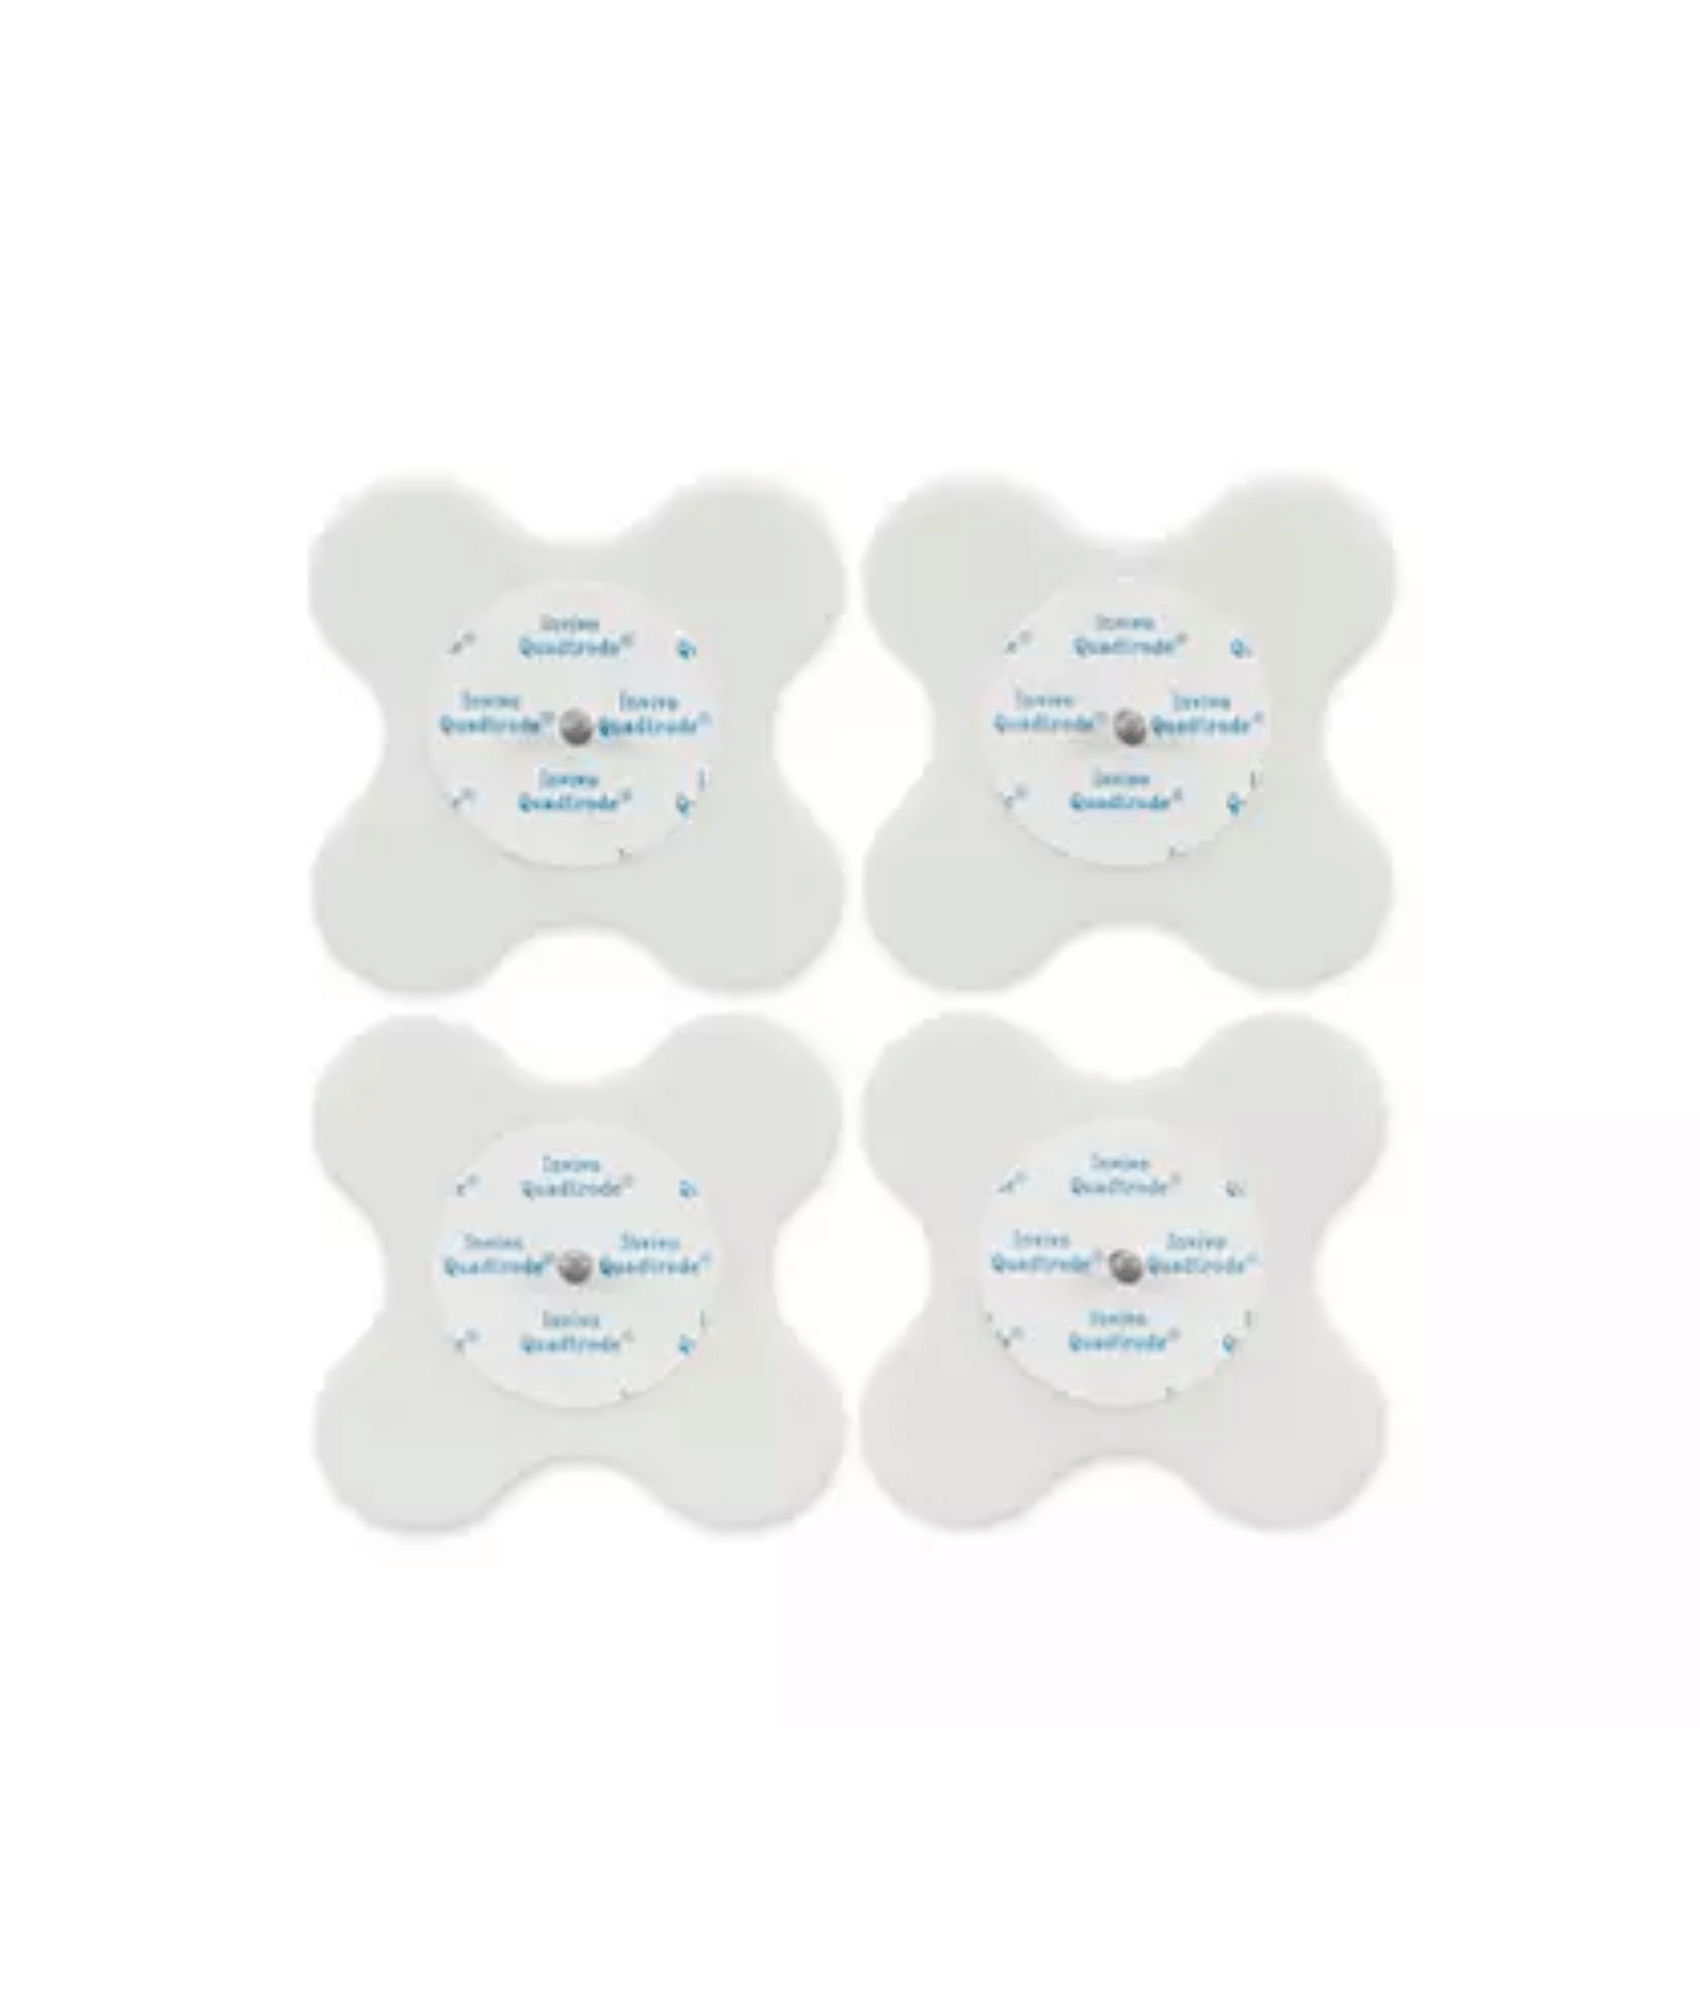
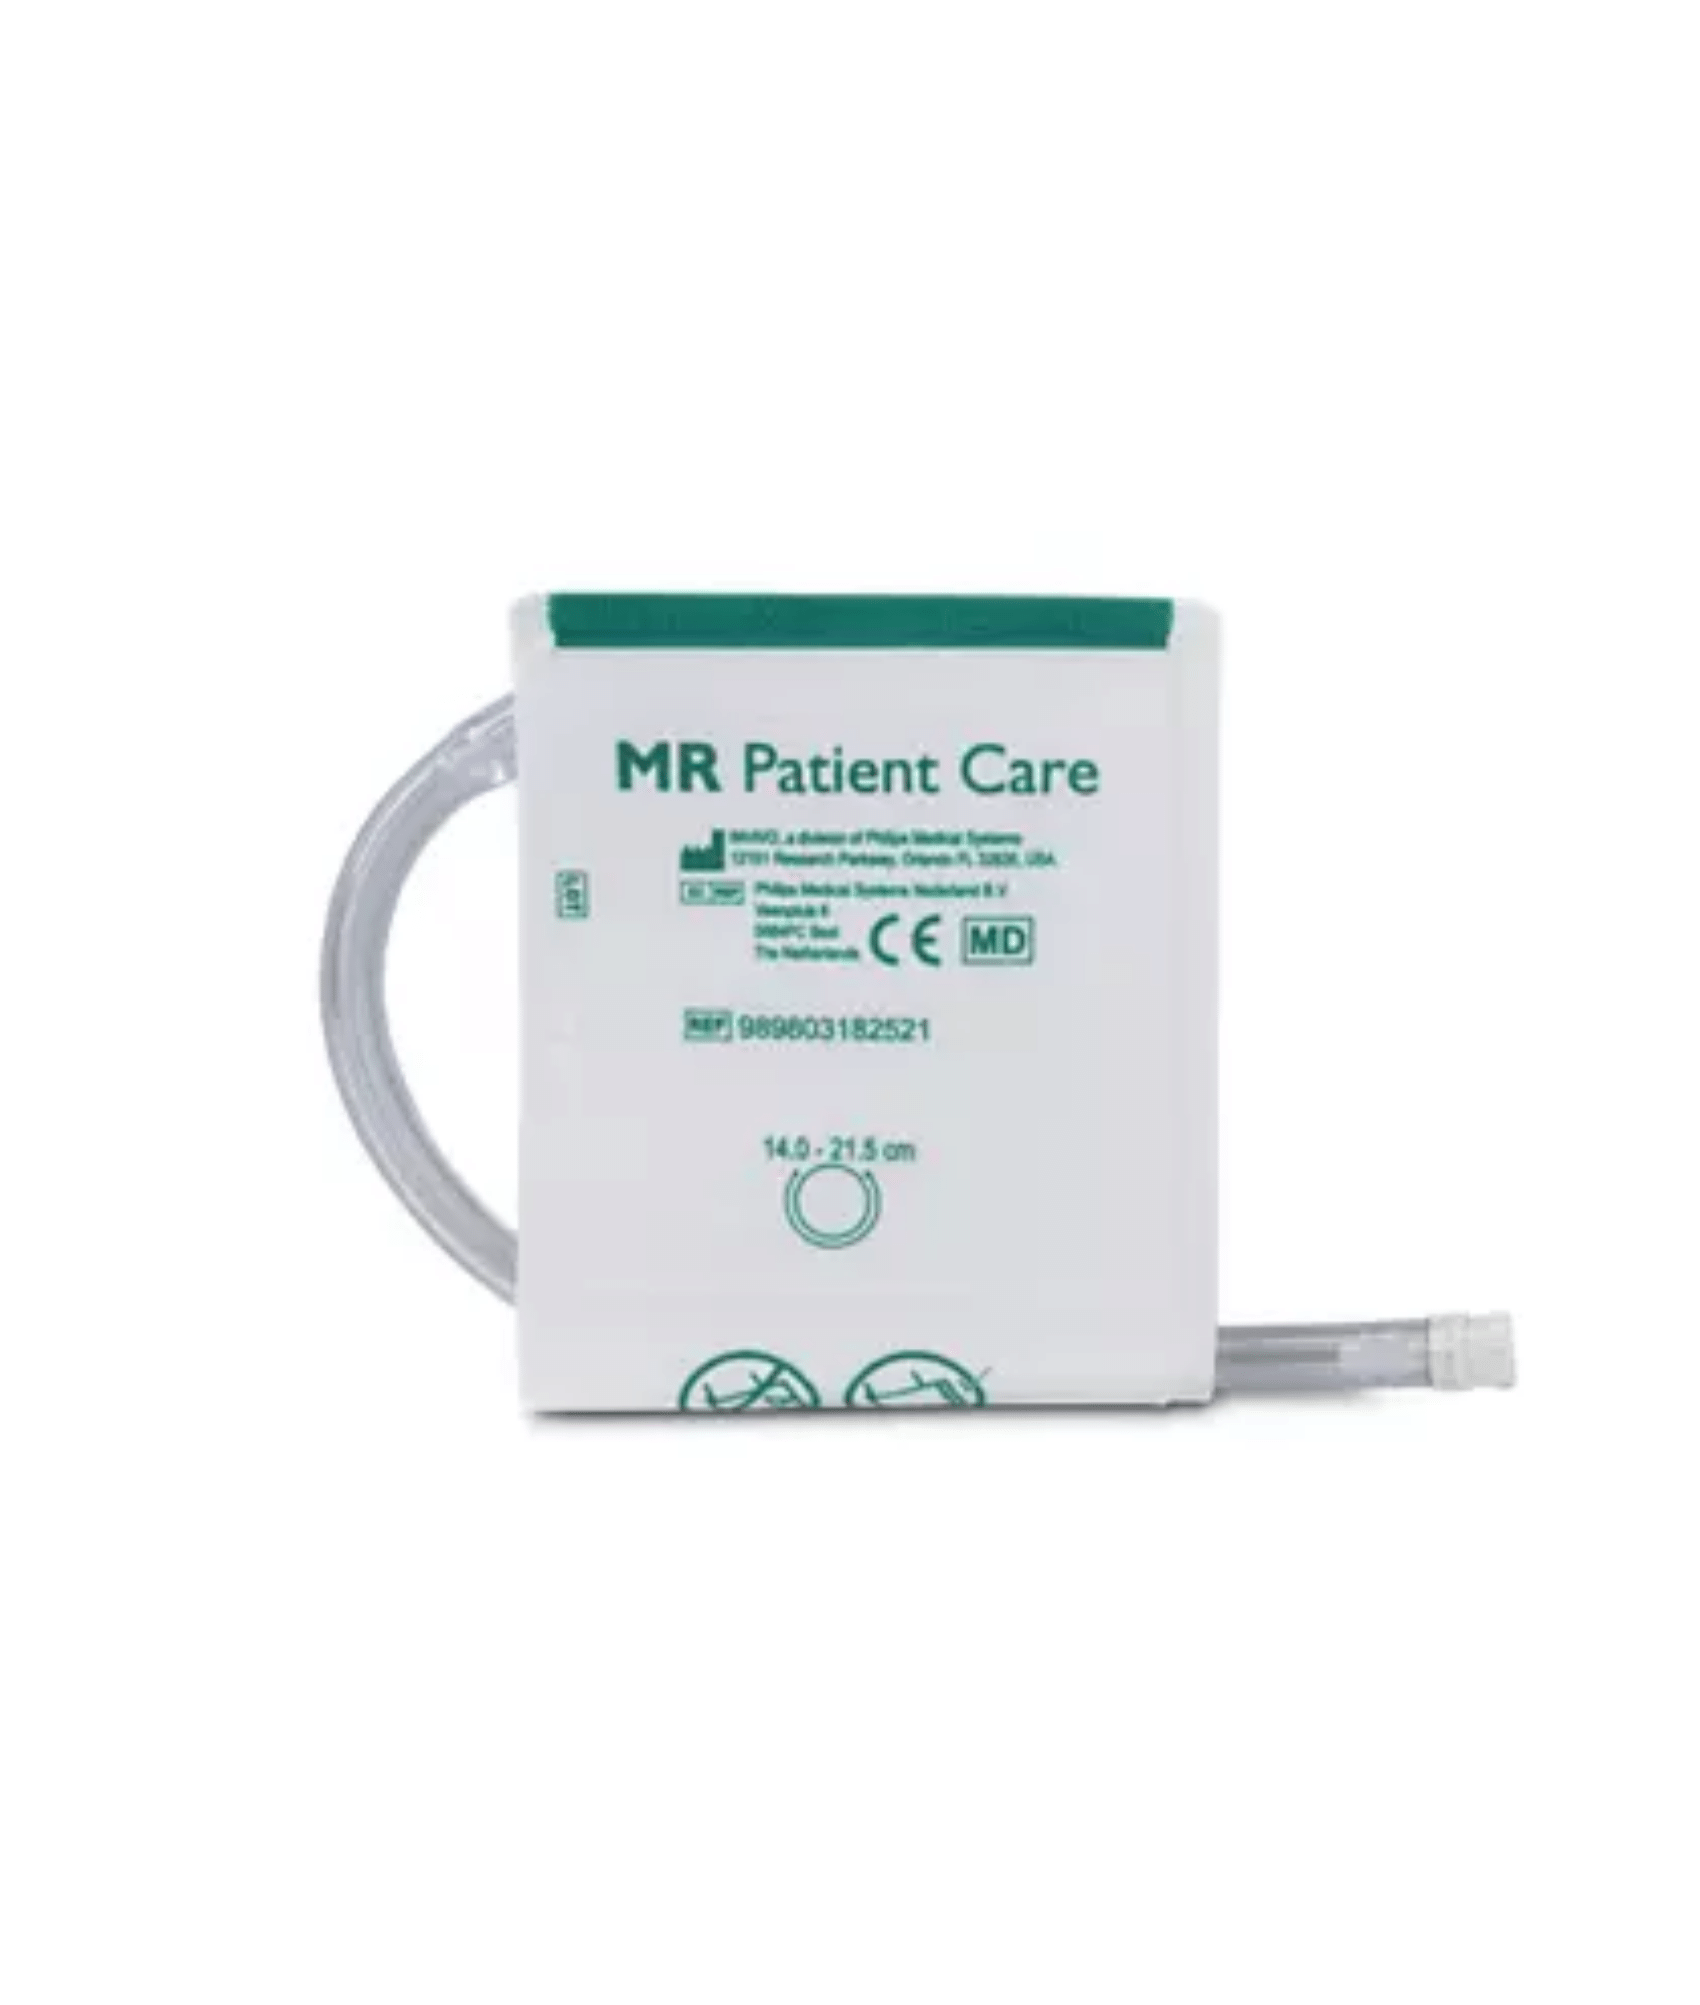
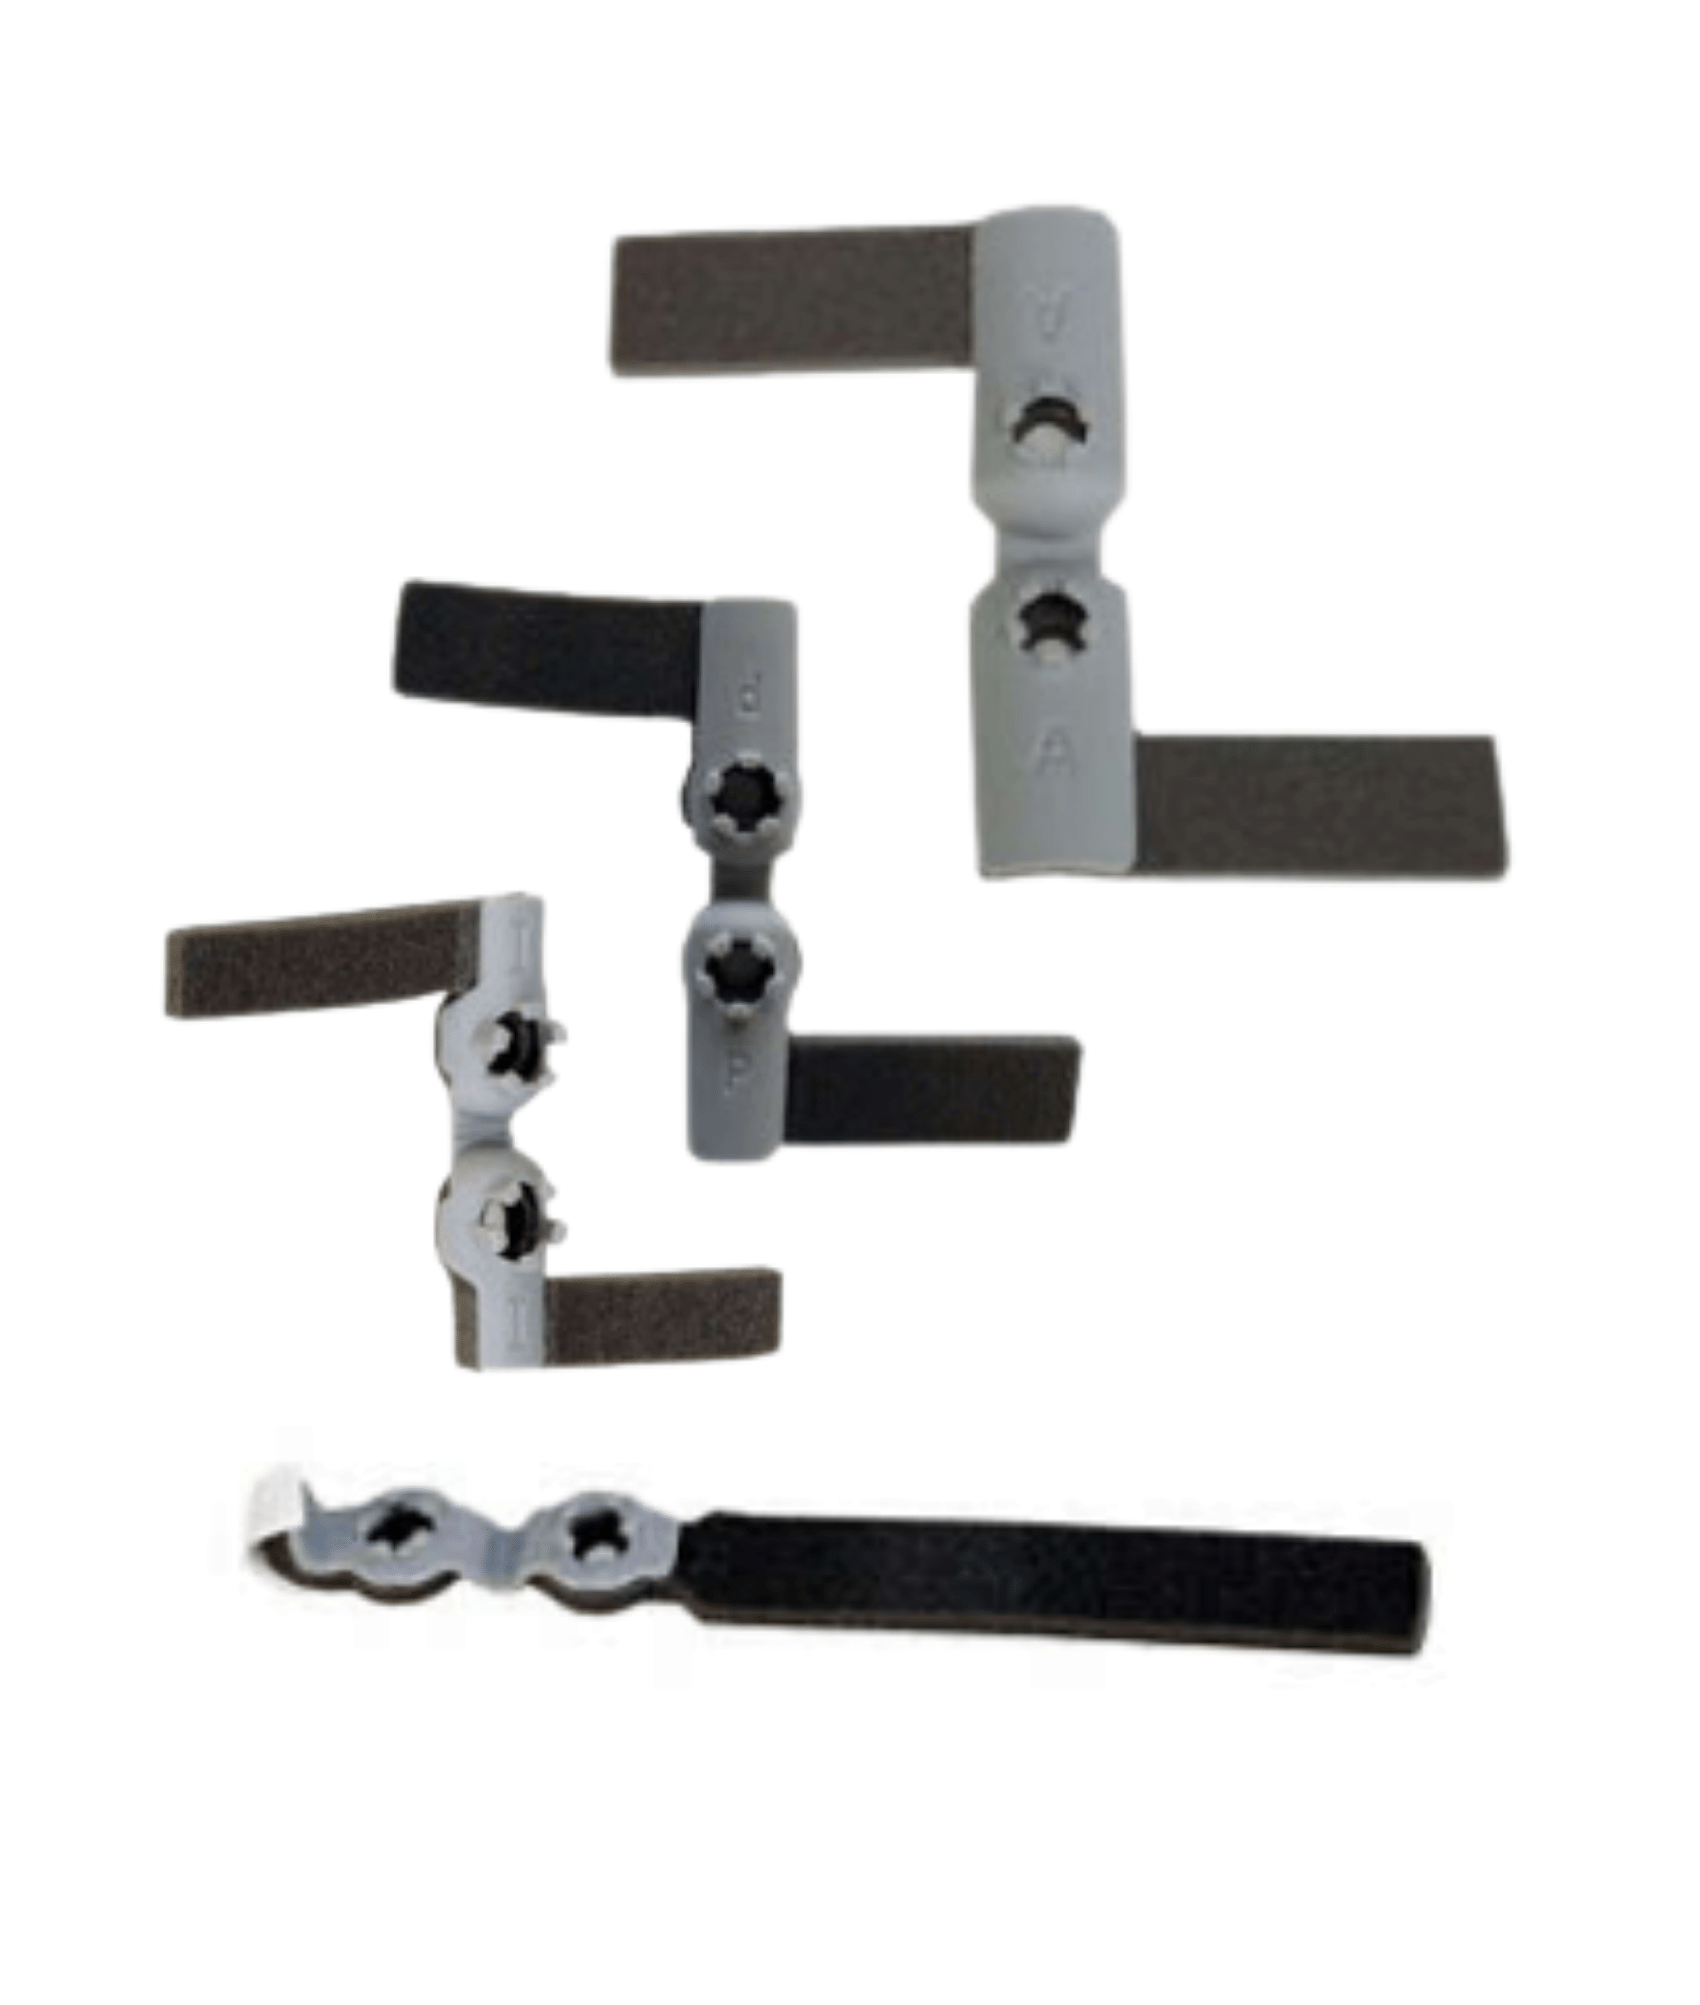
For systems equipped with ETCO₂ or Agent Monitoring, used sample lines should be removed and discarded in accordance with local infection-control procedures. A replacement sample line should then be fitted or stored with the unit, ready for the next examination.
Replacing consumables immediately helps ensure the MR400 remains ready for the next patient.
Storing Reusable Accessories
Reusable accessories should be returned to their designated storage locations.
This includes:
- Reusable NIBP cuffs
- Reusable SpO₂ clips
- ECG lead sets
- Temperature probes
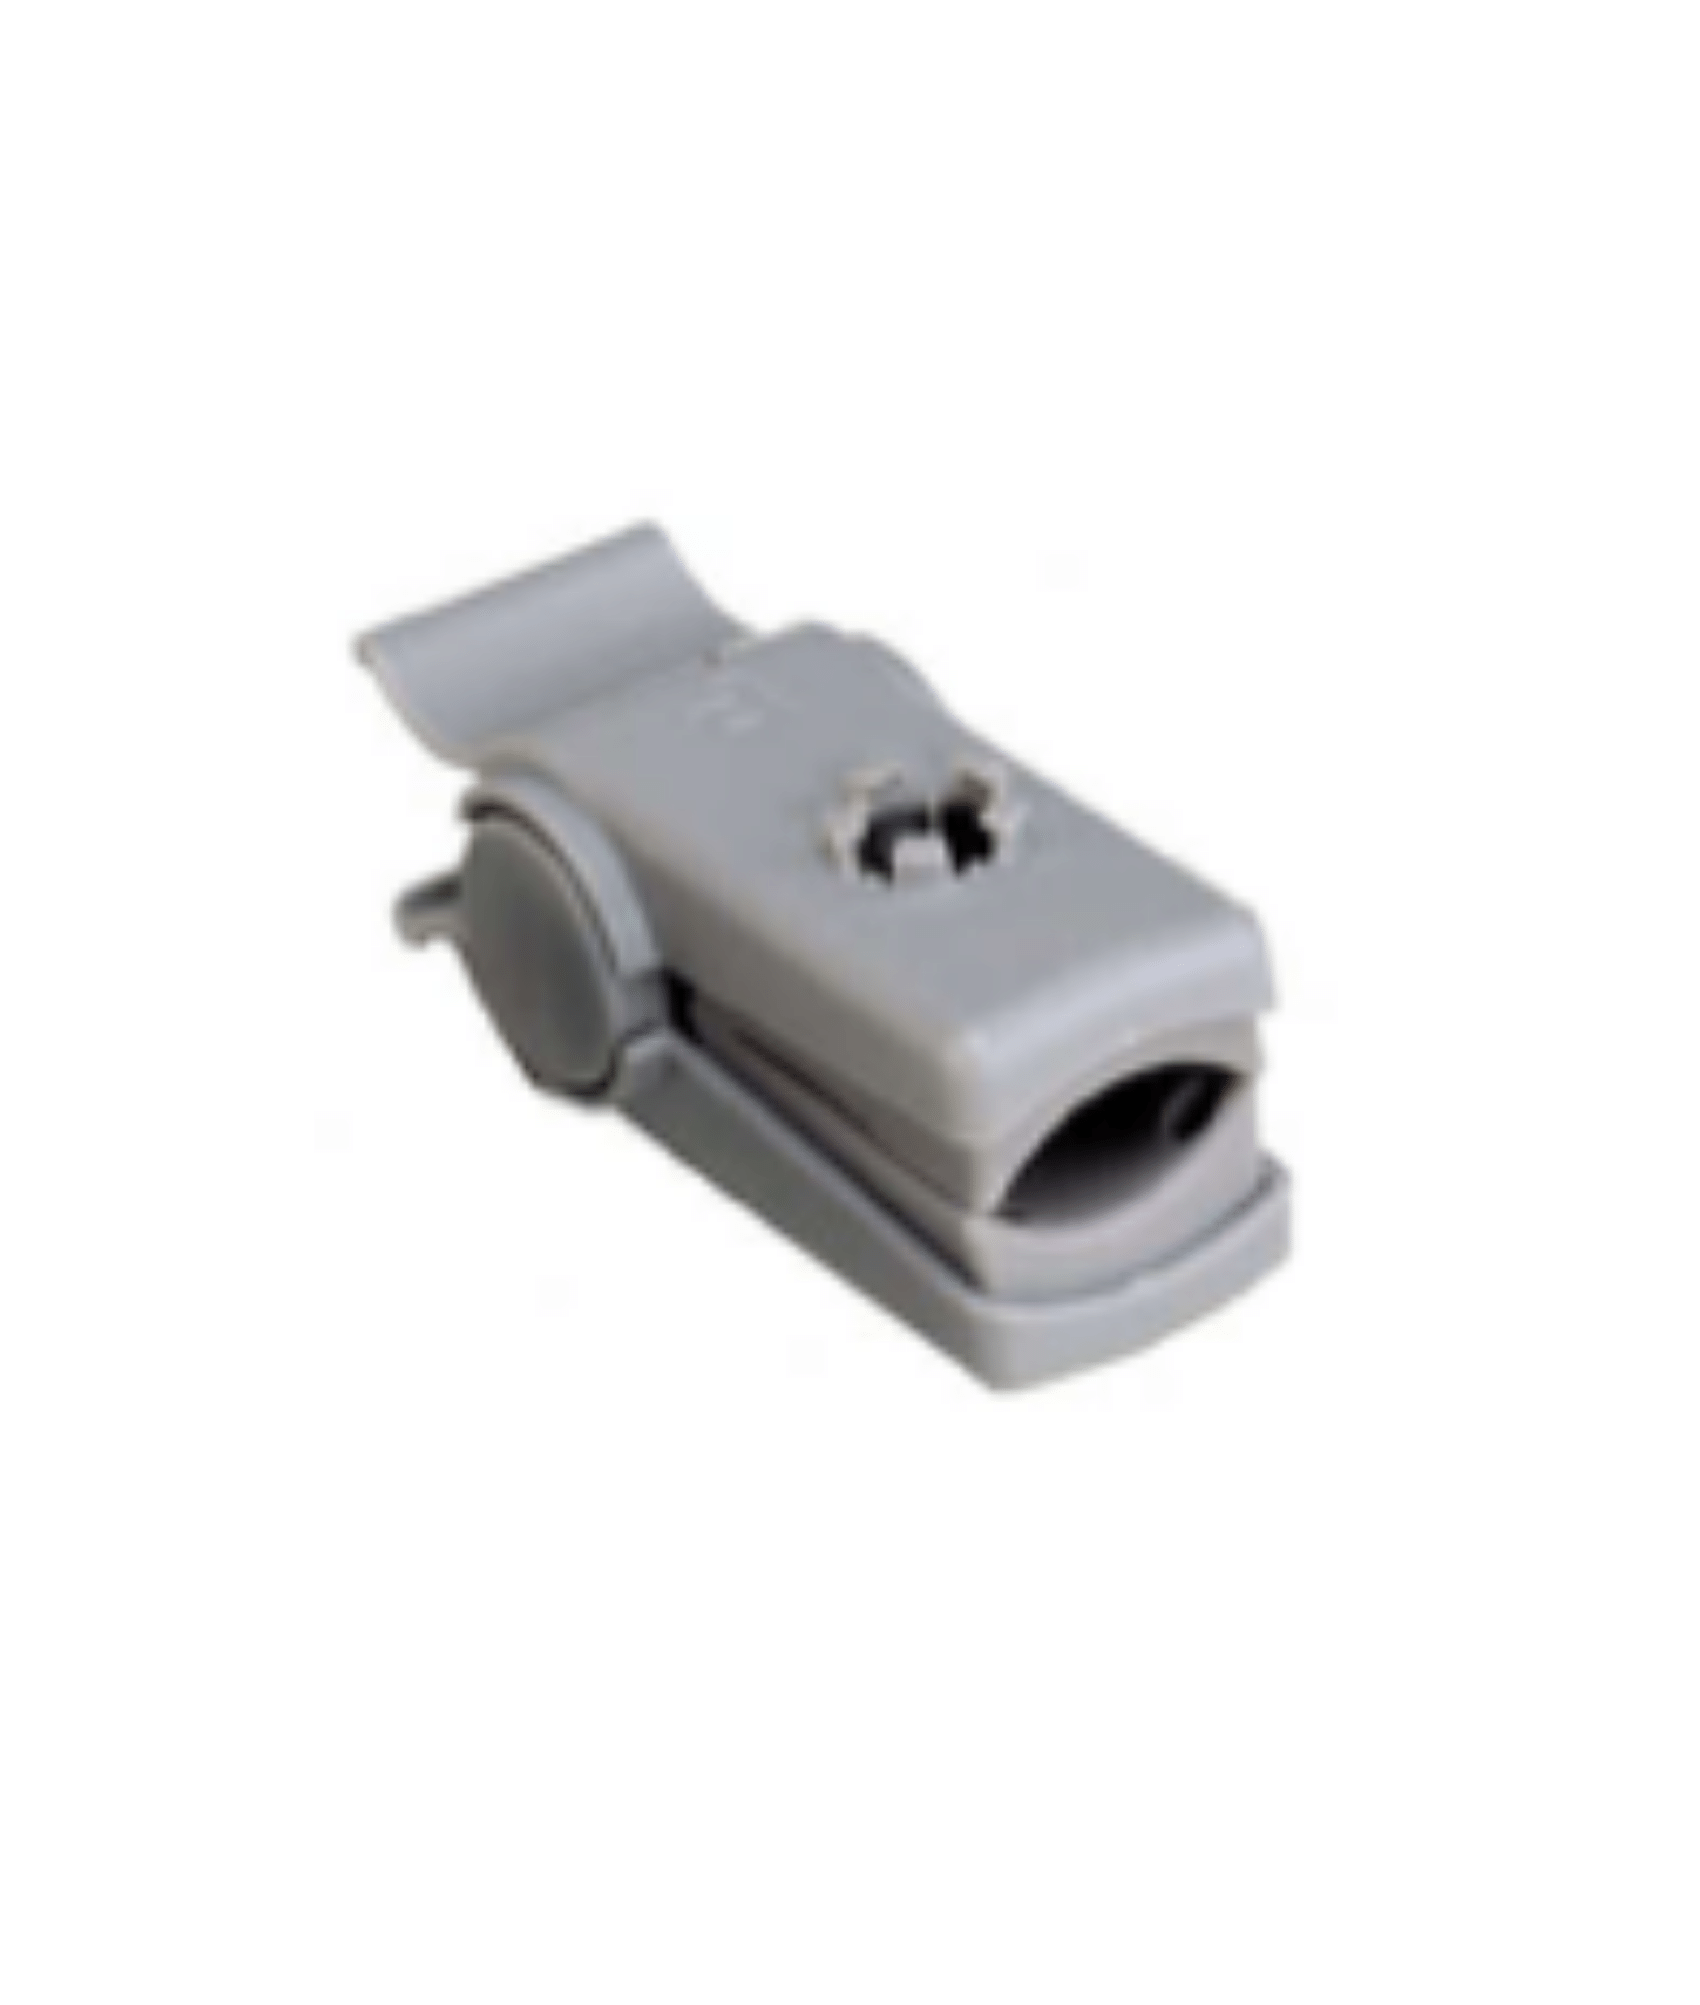
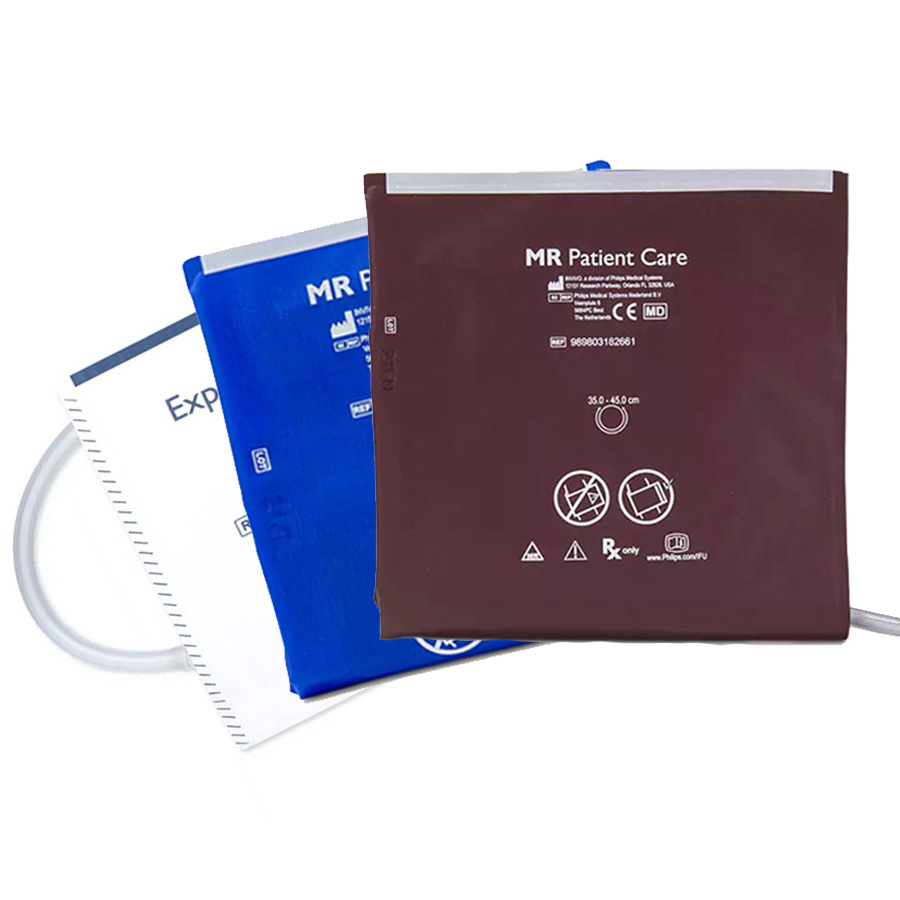
Reusable NIBP cuffs should be returned to the storage basket on the rear of the cart. The NIBP Pressure Interconnect Hose should be neatly looped and secured using the storage hooks beneath the monitor.
If invasive blood pressure monitoring has been used, the IBP interface cables should be disconnected from the P1 and P2 ports and secured using the storage hooks provided.
Similarly, temperature probes should be gently coiled and secured using the designated storage locations provided by your department.
Post-Use Inspection
Before returning the MR400 to storage or connecting it to charge, conduct a brief inspection.
Check:
- ECG Module housing
- SpO₂ Module housing
- ECG lead connectors
- SpO₂ fibre-optic cable
- NIBP cuffs
- NIBP pressure hoses
- Sample line connections
- Water trap condition
- Temperature probe condition
Any signs of damage, excessive wear, contamination, or malfunction should be addressed before the system is returned to service.
Identifying equipment issues immediately after use helps avoid unexpected faults during future patient monitoring.
If a Module Is Dropped
If an ECG or SpO₂ module is accidentally dropped, it should be inspected before being returned to service.
Check for:
- Cracks in the housing
- Damaged connectors
- Battery damage
- Communication issues
Even if no obvious damage is visible, communication and monitoring performance should be verified before clinical use.
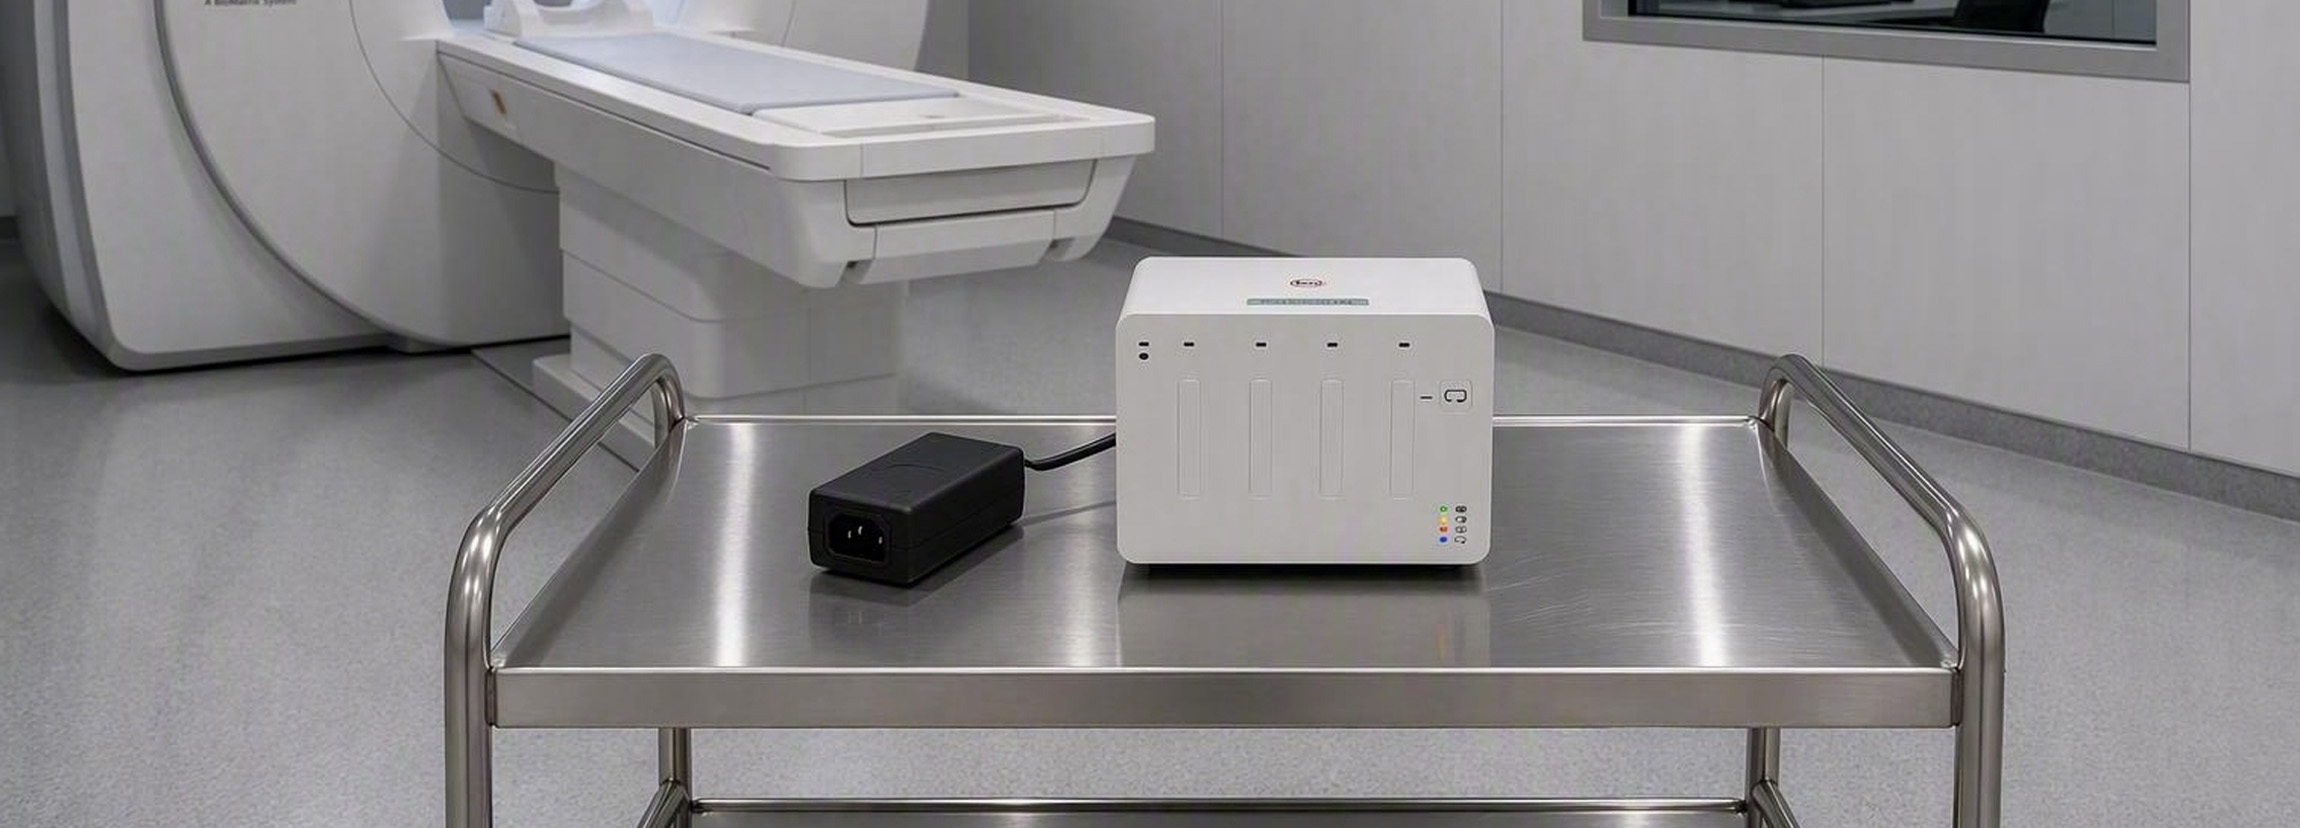
Battery Management After Use
One of the simplest ways to improve MR400 reliability is through consistent battery management.
After each use, battery status should be checked for:
- ECG Module batteries
- SpO₂ Module batteries
- MR400 cart batteries
If module batteries are low, remove them from service and place them on charge. Fully charged replacement batteries should then be installed so the system is immediately ready for use.
Similarly, if the cart batteries require charging, connect the MR400 to mains power after use to ensure adequate battery capacity is available for the next examination.
Many monitoring interruptions can be avoided simply by maintaining fully charged batteries as part of the routine post-use workflow.
Cleaning and Disinfection
Why Cleaning Matters
A clean monitoring system is a safer and more reliable monitoring system.
Routine cleaning helps reduce the risk of cross-contamination between patients while also allowing users to identify damaged accessories, worn components, or potential issues before they impact clinical use.
Philips recommends cleaning and disinfecting the MR400 system before use and between patients.
This includes:
- MR400 monitoring cart
- ECG Module
- SpO₂ Module
- ECG lead sets
- SpO₂ accessories
- NIBP cuffs
- NIBP pressure hoses
- Temperature probes used for axillary monitoring
Recommended Cleaning Supplies
To correctly clean and disinfect the MR400 system, Philips recommends:
- Enzymatic detergent cleaning solution prepared according to the manufacturer’s instructions
- Tap water
- 70% isopropyl alcohol
- Non-linting wipes
- Soft-bristle brush or cotton swabs
Before You Begin
Before cleaning the MR400, a visual inspection should always be performed.
Inspect the cart, modules, and accessories for signs of:
- Cracks
- Broken housings
- Damaged connectors
- Excessive wear
- Contamination that cannot be removed
Any damaged accessories should be removed from service and replaced as appropriate.
Before cleaning:
- Power the MR400 off.
- Disconnect AC power from the wall outlet.
- Remove battery power from the cart and modules.
This helps prevent accidental equipment damage and improves user safety during the cleaning process.
Cleaning the MR400 and Accessories
Using a non-linting wipe dampened with the prepared enzymatic detergent solution, wipe all external surfaces of the cart, modules, and accessories.
During cleaning:
- Do not allow liquid to enter the monitor.
- Do not allow liquid to enter module housings.
- Avoid direct cleaning over connector ports.
- Wipe around connectors rather than directly into them.
Allow the detergent solution to remain on the surface for the contact time specified by the detergent manufacturer.
Once the appropriate contact time has elapsed, use a fresh detergent-dampened wipe to clean all surfaces again until visibly free of soil and contamination. Replace dirty wipes throughout the process to prevent recontamination of cleaned surfaces.
A soft-bristle brush or cotton swab may be used to access small crevices and difficult-to-reach areas where dirt or residue may accumulate.
Removing Cleaning Residue
Once all visible contamination has been removed, use a non-linting wipe dampened with tap water to remove any remaining detergent residue from the cart, modules, and accessories.
Detergent residue should not be allowed to remain on the equipment, as this may attract dirt or negatively affect the appearance of the monitoring system over time.
After rinsing, use a clean, dry wipe to thoroughly dry all surfaces.
Disinfection Procedure
Following cleaning, the MR400 should be disinfected using 70% isopropyl alcohol.
Dampen a clean wipe with alcohol and thoroughly wipe all external surfaces of the cart, modules, and accessories.
As with cleaning:
- Do not allow liquid to enter the cart.
- Do not allow liquid to enter modules.
- Avoid saturating connector ports.
- Wipe around connectors rather than directly over them.
To achieve effective disinfection, surfaces should remain visibly wet with 70% isopropyl alcohol for a minimum of 10 minutes. Additional alcohol may be applied if necessary to maintain this contact time.
After the required contact time has been achieved, wipe the system dry using a clean, dry wipe.
Final Inspection
After cleaning and disinfection has been completed, perform a final visual inspection of the system.
Pay particular attention to:
- Signs of liquid ingress
- Physical damage
- Remaining contamination or visible soil
If any of these conditions are identified, the affected accessory should be removed from service or the MR400 should be inspected by a qualified service provider before returning it to clinical use.
Temperature Probe Cleaning Considerations
The MR400 temperature probe requires additional cleaning and disinfection procedures when used for rectal or oesophageal monitoring.
For routine use, Imaging Solutions recommends the use of Philips disposable temperature probe covers wherever clinically appropriate. Disposable covers help reduce contamination risk and significantly simplify cleaning requirements between patients.
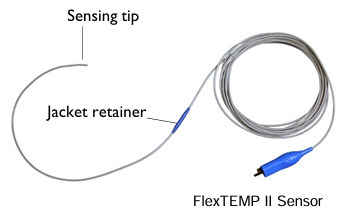
When a probe has been used for rectal or esophageal monitoring, Philips specifies a separate high-level disinfection procedure involving:
- Enzymatic detergent cleaning
- Tap water rinsing
- Revital-OX® RESERT High-Level Disinfectant
- 70% isopropyl alcohol disinfection
Particular care should be taken to ensure that liquids do not enter the connector and that only the approved portions of the probe are immersed during cleaning and disinfection.
Following high-level disinfection, the probe should be allowed to air dry and inspected for damage before being returned to service.
A damaged temperature probe should be removed from service immediately and replaced with an approved Philips MR400 temperature probe.
Conclusion
The Philips MR400 is designed to provide reliable patient monitoring within the demanding MRI environment, but its long-term performance depends on more than the technology itself. Routine inspection, correct storage practices, proper battery management, consumable readiness, and effective cleaning procedures all play a critical role in ensuring the system remains ready for clinical use.
Many of the most common causes of monitoring interruptions can be prevented through simple daily habits. Taking the time to inspect accessories, replace consumables, charge batteries, and store modules correctly helps reduce equipment downtime, improve workflow efficiency, and protect valuable monitoring accessories from unnecessary damage.
By implementing consistent before-use and after-use procedures, healthcare facilities can maximise the reliability, safety, and operational life of their MR400 systems while ensuring clinicians have access to a fully prepared monitoring platform whenever patient care demands it.
A well-maintained Philips MR400 is more than just a piece of equipment. It is a critical patient safety system that clinicians depend upon every day. By investing a few minutes in routine inspection, cleaning, battery management, and proper storage, healthcare facilities can help ensure the MR400 remains reliable, accurate, and ready for every patient examination